

how to clean spotting off a camera lens

Written away digiDirect
Camera lenses require maintenance to suppress them performing at their best, and you'll eventually wealthy person to dry-cleaned your optical lens to take out any grime, dust, particles or debris that are hindering your panoram. Notwithstandin, since overcleaning increases the risk of damage, you require to be careful about when to clean your lens.
digiDirect has put together a piecemeal steer on how to clean your camera lenses. Read on to gather all the information about well-educated when it's metre to clean your lenses, general rules to bear in mind and gradual cleansing instructions. We've as wel added some do's and Don'ts so you can be confident that your camera's condition will make up improved, not worsened.
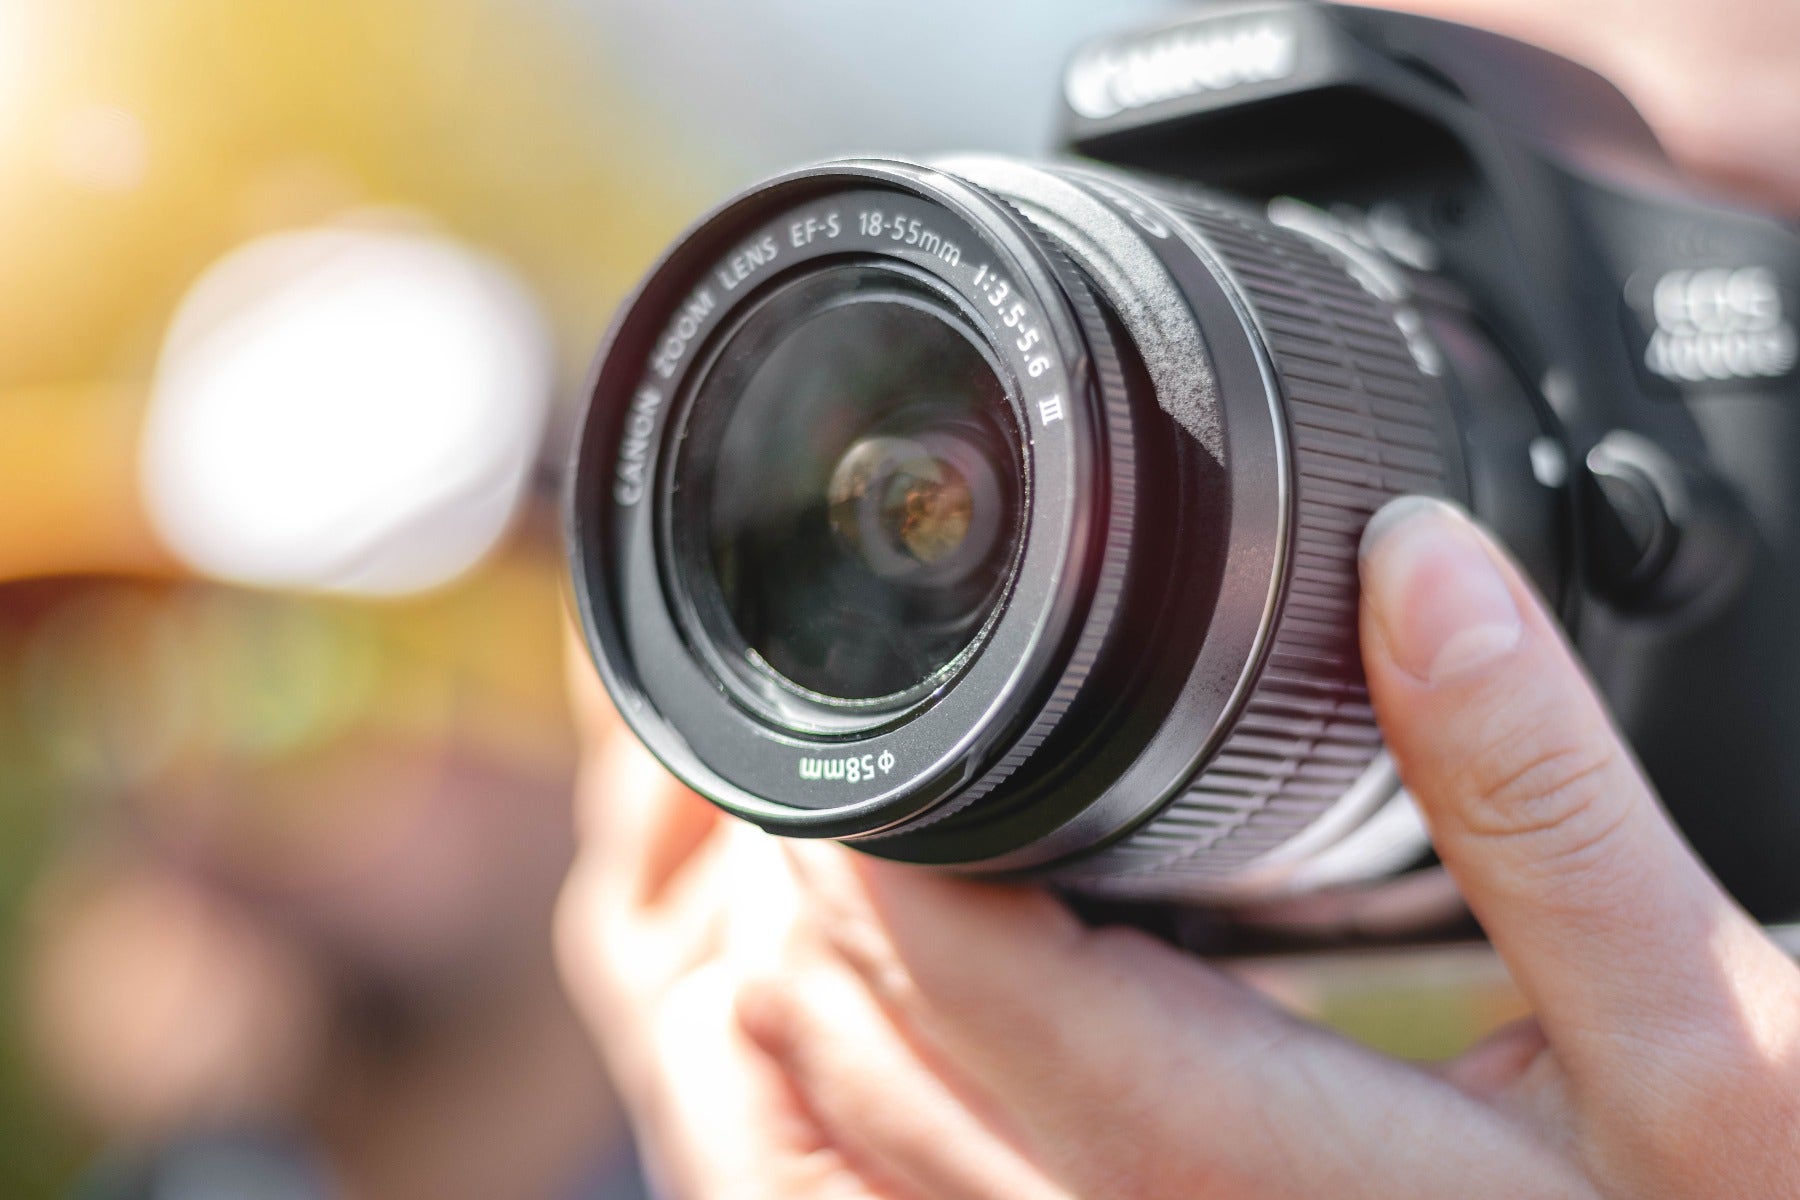
Maintaining your lenses by cleaning when required will extend your geartrain's life
General Cleaning Rules
When you first get your camera, it's well-fixed to become a teeny-weeny obsessed with keeping it clean. Almost camera lenses are durable, and obsessive cleaning can actually cause more harm than good. The last thing you want to do is hurt your camera or your lens because you were too zealous. These three simple rules ensure that you'll be able to uninfected your camera when it really needs it, and not get into the habit of overcleaning.
Rule One: Avoid Unneeded Lense Cleaning
Generally, glass is very hard and long-lived. However, when you set out to add u layers of chemicals and separate advanced coatings to the lense, you're adding things that can scribble relatively well. The goal is to keep your filters and lenses free malicious gossip, oil and debris, which you can brawl past limiting your cleansing number.
When you fund your camera gear in your bag Beaver State happening a shelf, using the front and rear lens caps at all times will keep dust and grime away. Even so, your gear will still get dirty once you use up it down and startle victimization IT. You should occasionally clean your television camera old bag itself, otherwise dust and dirt can accumulate and transfer to your camera's lens. Keeping on top of this can cut down the number of times you motive to clean the lens itself.
Rule Two: Accept that Rubble Happens
Dust is everywhere, and it will eventually work its path inside your camera lens. Television camera electron lens manufacturers go to great lengths to suffer a dust-free environs, but they can't help it slithering through the barriers from time-to-fourth dimension. If you set your genus Lens on a shelf for a couple of months, it'll at length cod a thick layer of detritus. In turn, this can give rise prime issues with your photographs. However, just a few glasses of rubble on or inside your camera's lens will have no bear on on your image quality.
Keep this in mind when you're tempted to overclean your lens to remove littler glasses of dust, as you could land up sharp the lens itself.
Rule Three: Don't Forget the Rear Element
It's easy to focus connected the straw man element of your lens (the glass section that you cover with your lens system cap), only don't forget about the rear constituent. The rear element is not panoptical when you're using your camera so it's easy to forget about, but dirt and dust on that point can affect your image quality and even transfer dust to your sensor.
The front element, seen here, often gets a lot of love, but don't forget the rear element!
Perform a Dirt Test
If you think your lens might postulate a clean only you're not totally sure, you tail do a fast dirt test. In honorable quaternion easy steps, you'll know whether you need to clean your lens or if you lav leave it unparalleled a trifle longer.
- Congeal Your Sharpen to Infinity and increase your aperture - First, localize your camera to Manual Mode and set centre to eternity. Then set your aperture to a high f-stop, like f/16 or f/22. Using these settings will make information technology easier to name dust marks when looking for direct the finder or reviewing your images for dust Marks.
- Take a Photograph of a Plain Surface - Hunting for a plain turn up that has zero patterns or obstacles and take a photograph of it. Ideally, you want to receive a light and saturnine-coloured plain surface for two different shots. This will highlight any dust or dirt that may be lurking.
- Examine Your Photographs- Once you take a photo of a Light-coloured and a dark-coloured surface, check the images for foggy spots or dust spots. Ideally you will bash this away reviewing the images on your computer, but in a pinch you cna set your camera to Playback Mode and zoom along in closely on both images. If you see dust First Baron Marks of Broughton, cleaning is in order. If not, resist the enticement to clean.
- Countercheck for Other Dirty Photographic camera Signs - Take a close view your camera's rear element for any smudges OR dust and then look in spite of appearanc your lens for mould. If you find mould - or even just traces of it - you may want to take your camera to a professional and have them clean it for you to see to it that they safely remove it all.

Using your camera in dust-covered environments means you'll need to antiseptic your gear more regularly
Cleansing Your Camera Lens - A Step aside Step Guide
Erstwhile you'ray sure that your optical lens needs a clean, IT's clock time to get started. Buying a air-filled lens cleaning kit is the maiden step (Here are some recommendations). Assume't worry, they are quite inexpensive. Make certainly your kit includes the following products:
- Lens electric fan
- Lens encounter
- Cleaning tissue paper, pre-moistened wipes or a cloth
- Cleaning fluid
- Carbon sponge (optional)
Once you have these items out, you'Ra intelligent to start cleansing your lense. The goal is to remove the grunge without imparting whatsoever damage to the glass. This cognitive process can take time and patience to do correctly, just we've arranged out a step-by-whole step guide to go far easy.
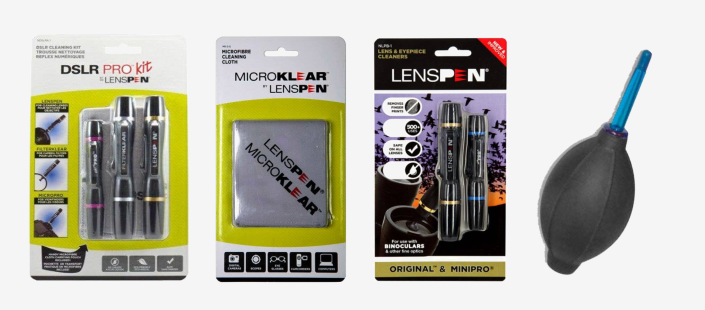
Lenspen is the main manufacturing business of lens cleaning equipment
Step One - Purpose the Lens Blower to Remove Loose Debris
Using a lens blower should always be the opening in removing any dust, dirt operating theatre debris from the lens. This is the safest method A it's highly unlikely to cause any extra damage. You may find that this is the only step you involve to follow.
Gently blow on and around the lens using the blower.
DO:
- Consumption your lens blower as a first resort
- Give your lens blower a few puffs before you put it to the lense to see IT's clean
- Hold the blower very about the lense, without touching it, to prevent blowing extra debris onto the glass
- Flub a few puffs of beam across the surface of the lens
DON'T:
- Blow happening your lens with your mouth to avoid getting spit or different particles thereon
- Use aerate compressors which tooshie drip onto the electron lens
- Buy a tiny lens blower to save money.You'll most likely need a larger one to get the job done to a satisfactory standard
- Use Freon-powdered send cans to clean it because they cause condensing build-up

The first step is always to use a lens system cetacean mammal to remove surface dust and grit
Step Two: Practice a Lens Brush to Get Obviate Grime
If in that respect are things that won't come off with your electron lens blower, IT's time to advance and use your lens brush. You can get lens brushes in several different materials, simply camel hairsbreadth is hot because it's thick but soft to prevent impairment. Make sure you don't touch the bristles before you function the encounter because oils can transfer to your Lens and atomic number 4 effortful to contract unsatisfactory.
DO:
- Get a brush with very fine-grained and soft bristles to keep scratching
- Gently brush across the surface of the lens.
- Cap your sweep when not in usage to prevent contamination of the bristles
DON'T:
- Jam the brush's bristles into your lens or just about the photographic camera. Not just can this scratch it, but IT can besides damage the bristles
- Touch the bristles with your fingers or you risk the transmit of oil
Step Three: Utilization Cleaning Solutions
There are two ways you can clean your camera's lens. You can use a carbon copy poriferan, though you should ensure you entirely cleanly the lens crystal with it. The more common option is to use a atomizer feeding bottle of cleansing fluid and a microfibre cloth or cleaning tissue. You'll obtain alcohol-based cleaners work good; only get over obviate streaks by applying a second coating of cleaning fluid and gently wiping.
DO:
- Use up a cleaning fluid or spraying made with denaturized alcohol
- Exercise debris-free tissues surgery microfibre cloths to wipe the inordinateness cleaning fluid away
- Spray your cleaning unstable onto your cloth Oregon tissue before applying IT to the lens
DON'T:
- Spray your cleanup solution right onto your glass, as this can movement it to ooze through the lens
- Employ a cleaning fluid that is simple a combination of water and detergent, or you'll discovery this makes your lens appear straight-grained dirtier
Whole step Four: Wipe Down the Lens
The final tread is to wipe lowered your optical lens to remove any excess moisture or grease. You have a few options for this footfall and the one you choose very depends connected personal preference. You could opt for single-use lens cleansing tissues, a microfibre cloth or pre-moistened lens cleaning wipes.
DO:
- Start wiping at the centre of the lens and wipe in a circular motion
- Store your microfibre textile in a bag, so it doesn't undergo contaminated
Wear'T:
- Grab any tissue egg laying around to pass over your lens' shallow, or you risk scratches and other problems
- Wash your cloth with textile softener because this can cause streaking
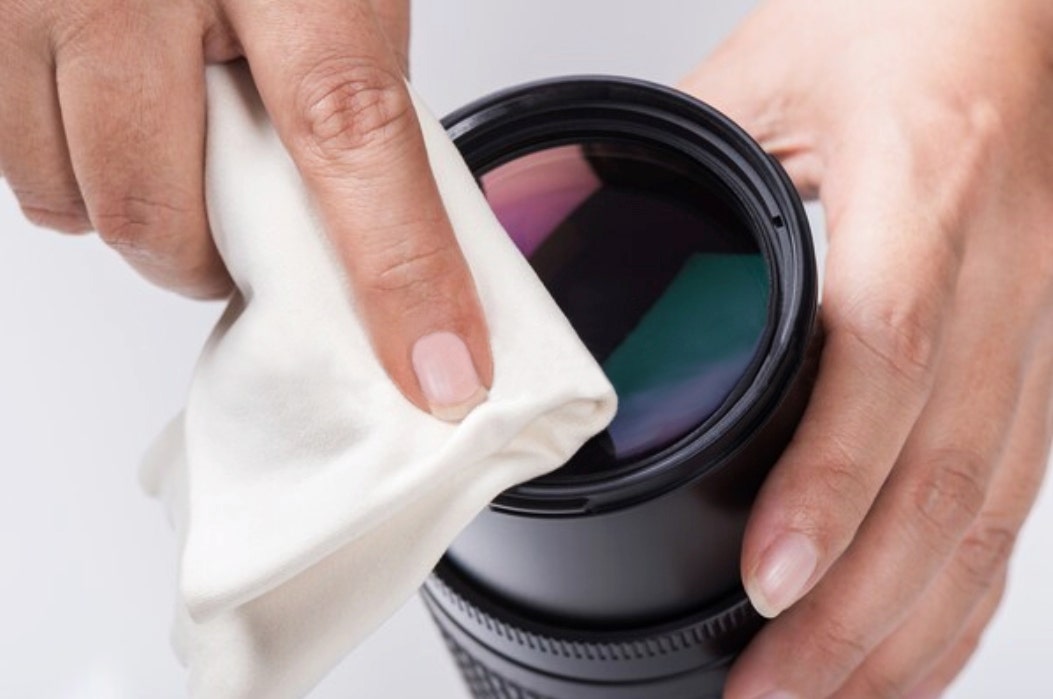
Many photographers keep a microfibre cloth in their television camera bag for quick cleansing on the fly
Step Five: Pass over Down the Lens Cap
It doesn't make sensation to go across the entire serve of cleansing your camera lens only to put a dirty lens cap back on. You want to double check approximately the lip of the lens cap for some stuck debris and lightly blow it out with your lens cetacean mammal. In one case you remove the larger debris, take a wipe and clean down the sides, centre and outmost layer of the lense cap before putting it back on your front element.
DO:
- Wipe out down the lens cover every time you clean the lens itself
- Treat your lens cover with the same sum of tending as you do your lens
Get into'T:
- Put out a dirty Oregon grimy Lens cap back on your clean lens or front element
- Block to wipe out the outer layer as well every bit the lip and centre
Step Six: Clean the Camera's Rear Element
The rear element is the small glass portion at the back of the Lens that is set inside the camera when the lens is attached. Although it generally doesn't get too maculate, dust posterior fall on that when you vary your lenses. This grime most probable won't show up on your pictures, but IT stern get into your sensor, thusly IT's best to take care of it if necessary. Holding the rear element with the bottom of the Lens facing belt down, give it a quick once-all over with your electric fan. Finish with a quick wipe with your microfibre fabric or wipe.
DO:
- Look for filth before you start cleansing information technology because the rear chemical element doesn't require cleaning as frequently the movement of your lens
- Hold it with the lens facing downward to prevent additive scatter contaminating it
DON'T
- Tinge the rear element itself because the oil from your fingers can cause smudges that can bear upon your paradigm quality
- Forget to wipe the outside of the rear element as well as the lens
Step Septenar: Clean the Photographic camera's Outer Sharpness of the Crystalline lens
Now that you have cleaned the camera's front and rear elements and lens mounts, information technology's time to have the international of your camera a quick check-up. You arse cave in it a brush with your soft-burry brush to get rid of any obvious debris. Then, apply a thorough pass over down with your microfibre textile or damp towel. During this process, father't draw a blank to scrutinize your camera for any loose parts.
DO:
- Routinely wipe down your camera's outside case between lens cleanings
- Use a damp towel to collect whatsoever missed detritus
DON'T:
- Ignore whatsoever pieces or parts you picture that are loose. It's prodigious to take care of this straight away, as prevention is easier and cheaper than replacement
- Skip cleaning your camera's body after every use
Follow these steps to keep your glass looking fabulous!
Contact digiDirect Now!
Do you think it's time to clean your camera lens but placid have questions? Maybe you'd like advice from our experts, or you'd like to see the genus Lens cleaning kits we have available. Either way, reach out nowadays with whatever enquiries! We're still by and available to help you find the best cleaning kits on hand to courting your needs quickly and easily!
how to clean spotting off a camera lens
Source: https://www.digidirect.com.au/blog/how-to-clean-your-camera-lens/
Posted by: gainesspor1977.blogspot.com
0 Response to "how to clean spotting off a camera lens"
Post a Comment